Celebrate the BOY!
There’s always lots of ideas, patterns and tutorials around the web for things to make for little girls. So this month, as a crafting mother of three boys, I’ve been really enjoying Celebrate the BOY! month by MADE and Made by Rae.
I don’t have nearly as much time to sew as I’d like, and it’s not like my to-sew list was short to begin with, but now I’ve got inspiration to keep me going for months!
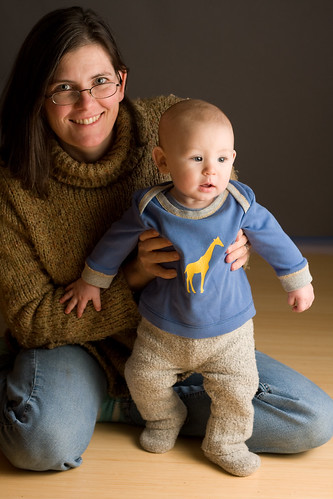
So far, I’ve only followed the tutorial for the 90 Minute Shirt — a simple, lap shoulder, long sleeve shirt, made from a recycled adult t-shirt. But I’ve made THREE. All for Nathaniel, and all out of clothes of mine that I no longer wear, or scraps from my stash which originally came from the thrift store. I LOVE making new cute clothes for the littlest guy, especially when it doesn’t involve a big trip to the mainland or lots of money. (I’ll make stuff for the older ones too, I promise, but they’re fussier and have more to say about the finished results.)
The first one:
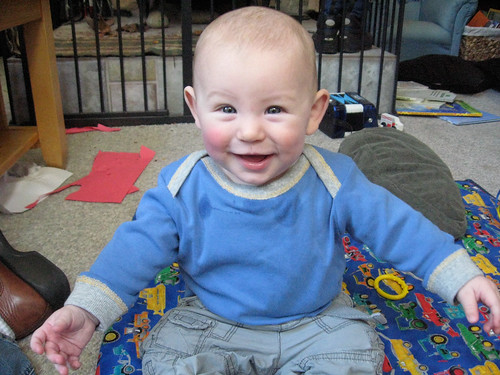
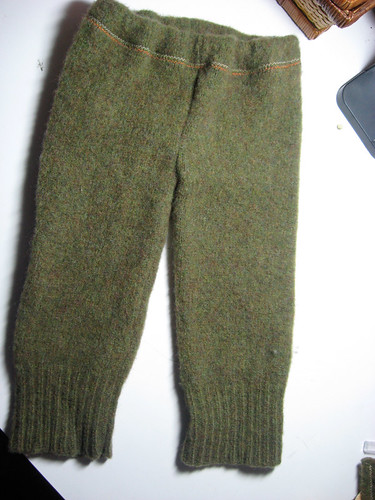
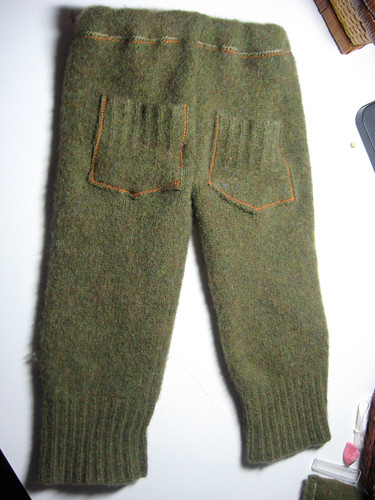
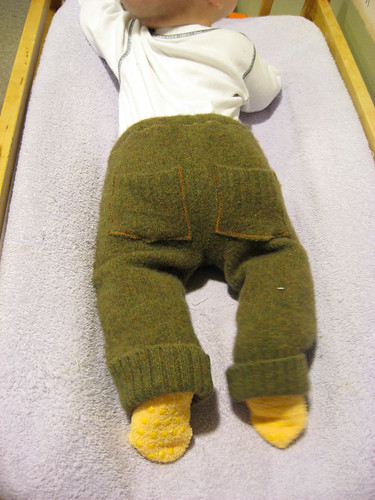
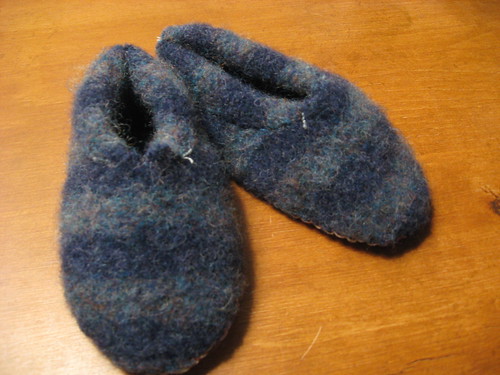
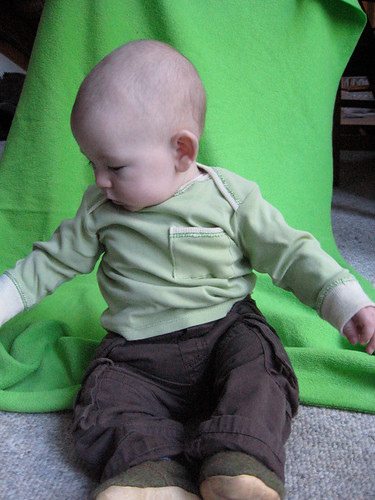
And then it looked too plain so I added a giraffe using the freezer paper stencil technique. (I also made the pants and shoes in this photo from a felted wool sweater a while ago. An entire mama-made outfit!)
And the next night:
I think he likes it:
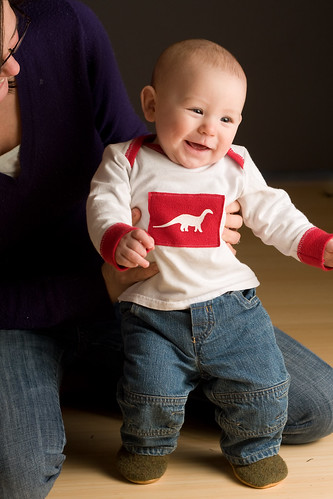
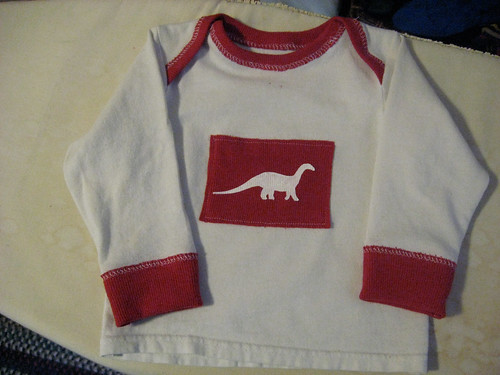
And finally:

During the sewing of the first two shirts, I was getting more and more mad at my sewing machine. It kept breaking threads every few stitches, or getting jammed, just making the entire thing take way longer than it needed to. I was about ready to throw it out the window and buy a serger and a new machine. But! Before I started the last one, I changed the needle again, and this time, it worked perfectly. I got through the whole shirt without one broken thread. I’m a little puzzled, but I’ll take it. The serger is on hold for now.
And I just hit the thrift store for more shirts to re-use for my guys. 🙂