I came up with this little kids’ tote bag idea recently, because Ben asked me to make him one out of two fat quarters our local quilting store owner gave him one day.
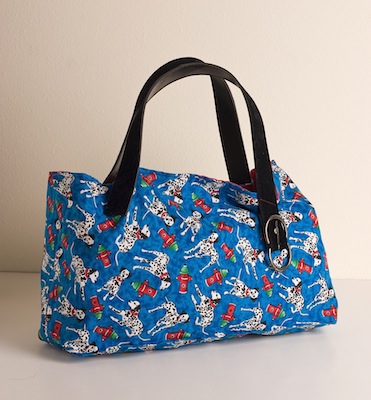
It has dalmatians and fire hydrants all over it — what could be better for a three year old boy? He loves it, and so does one of our friends, so I made another one for her and documented the process in photos so I could write about it.
Materials needed:
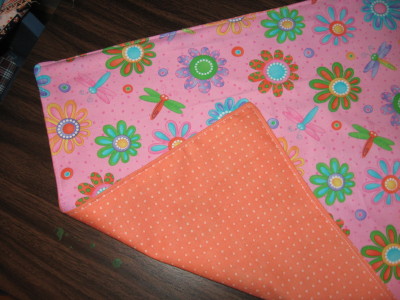
- Two fat quarters of coordinating fabrics — a bold print for the outside and a plainer/smaller pattern for the inside works well. (Doesn’t work well on obvious one-way patterns — one half would end up upside-down.)
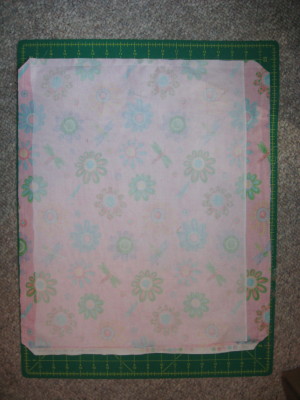
- Slightly less than a fat quarter of iron-on interfacing.
- An old belt — I find mine at the thrift store — or some other ribbon or webbing for straps.
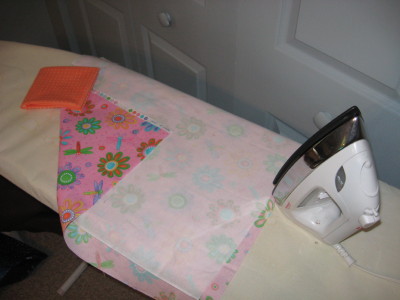
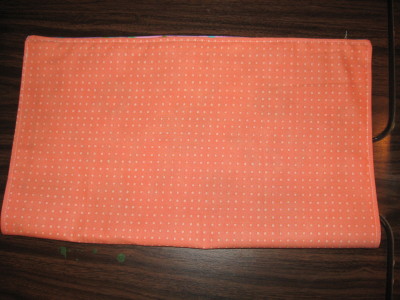
- Center the interfacing and iron onto the wrong side of the outer fabric.
- With right sides together, sew around the edges of the fabric. Leave about the center third of one of the long sides unsewn to allow you to turn right side out. Trim the corners.
- Turn right side out, pushing out corners. Iron seams flat. Topstitch at 1/8″ around the entire outside of the rectangle.
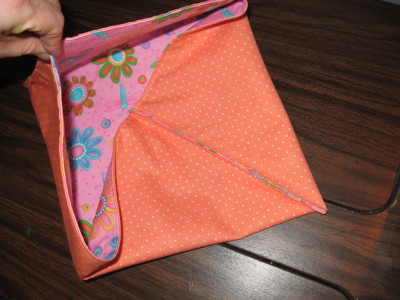
- With right sides (outside fabric) together, fold in half widthwise. Sew the two ends together.
- You now have basically a flat inside-out pouch. Fold in the outside edges that you just sewed, towards the center, so that the seam is laying along the center bottom of the pouch.
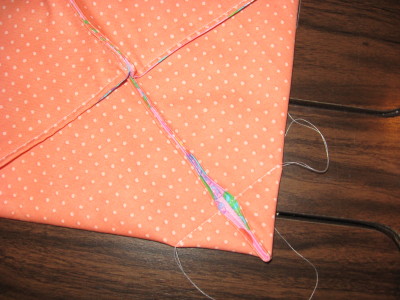
- Sew across the corner of the bag, about 2″ in from the point, on both ends.
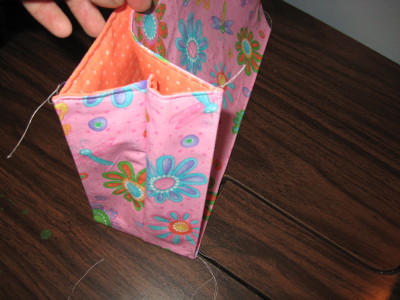
- Turn the whole thing right side out. Lay one of the long sides flat against the bottom (like you would fold a paper grocery sack) and topstitch at 1/8″, from corner to corner, along the outside. Do the same thing on the other side, and, if you want, from each of the four bottom corners to the top edge, to give it more of a boxy shape.
- Cut the old belt in half, and sew one half on each side as a handle. I do it just a couple of inches in from the ends and at a slight angle. I also leave the belt buckle on for decoration.
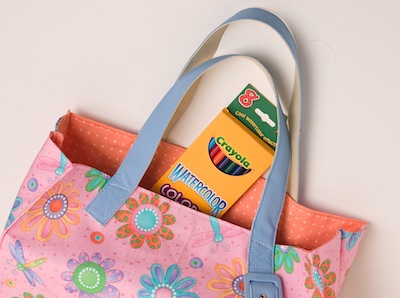
That’s it! Give it to your favorite kid and they can carry around their books or art supplies or cuddly toys or whatever they like. 🙂
Sew,Mama,Sew! Blog » » Create & Celebrate (some more!) | 06-Mar-08 at 8:16 am | Permalink
[…] has a fat quarter tote bag tutorial on her Island Mama blog. She writes, “It’s a quick, basic project to make out of two fat quarters — […]
Kristin | 06-Mar-08 at 8:31 am | Permalink
That looks great! I’ll have to try that sometime. I know my kids would love them.
Mystele | 06-Mar-08 at 9:24 am | Permalink
super! thank you!
Kristi Van Os | 07-Mar-08 at 9:14 am | Permalink
I love the fact that they are made from 2 fat quarters! I may just have to try to make one. Thanks
ADcreates | 17-Mar-08 at 2:02 am | Permalink
Great tutorial! Thank you.
Sherry Hill | 08-Oct-10 at 11:48 pm | Permalink
Thanks! My three year old grandson was wanting a purse like his cousins Mickey Mouse purse and I was trying to figure out what to make for a little boy to carry his favorite small toys into the store. 🙂
Melissa | 21-Jun-11 at 3:59 am | Permalink
Thank you:) I just finished sewing this in 1.5 hours for my 3 year old boy to carry his toys in. Only getting my first machine for mothers day this is my second project in two days. I found this simple and your steps were easy. Thanks again.