Harvest
Some chard from the garden. This pile is about equivalent to 3 or 4 bunches from the store and we ate it all at once. So fresh, right from the garden.
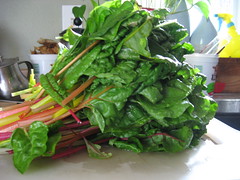
So very very good.
Life on an island with three small boys
Some chard from the garden. This pile is about equivalent to 3 or 4 bunches from the store and we ate it all at once. So fresh, right from the garden.
So very very good.
We happened to be sitting outside a few days ago when there arose a great squawking and flapping and fluttering and lo, the babies left the nest. All at once, and amid great excitement. There were two adult robins zooming around making a lot of noise, and I’m not entirely sure if they were yelling at the babies to kick them out of the nest (sorry, encourage them to take flight), or if they were worried that they weren’t ready and were yelling at them to stay put.
Either way, the babies left the nest and we saw at least one of them actually flying away.
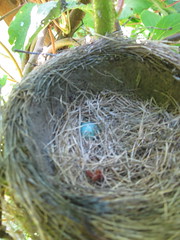
There’s just one lonely little egg left.
– – – – – –
So much for every day, huh. Oh well. I’ll keep trying.
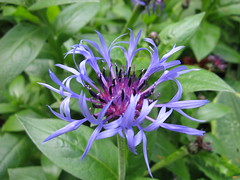
We have a lot of this plant. It appeared this spring, took a long time to flower, and then a while for us to figure out what on earth it was. (Centauria Montana. It spreads.) And then it all fell over, the flowers were fading, and I trimmed it back.
And it’s starting again! It’s sending up new shoots, just like it did back in, oh, April.
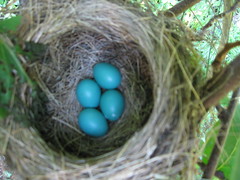
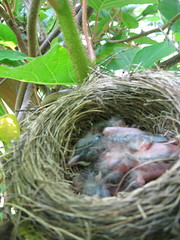
A little while ago, we noticed a bird’s nest perched on top of the fence in the depths of our kiwi vine. It was impossible to look into it, since it is just about head height, so I did what any sane, digital-camera-equipped, curious (okay, nosy) person would — I held my camera over it and took a picture.
There were four perfect little blue robin’s eggs.
We watched and tried to stay clear of it for a couple of weeks. Of course, I’m also trying to watch the kiwi vines for blossoms, so we can tell if we’ve got a mating pair and any hope of fruit or not, and quite a few times I scared the mama bird and she flapped off, squawking indignantly at me. I took a few more pictures here and there to see what had become of her eggs.
One day, I got a shock. First, I got this:
And then, suddenly, and with a high-pitched chirp, I got this:
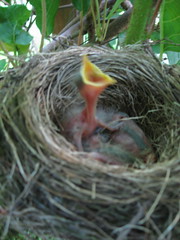
They thought my camera was mama! Scared the life out of me!
And apparently I don’t learn, because I did it again a few days later!

They’re clearly getting a little bigger. I can’t tell how many there are, though.
A few days ago we discovered another robin’s nest, hidden in the blackberries we were trying to hack back, because we accidentally knocked two fledglings out onto the ground. They were probably only a day or so from being able to really fly, and they hopped and fluttered around a few inches above the ground. The entire local community of adult robins perched themselves in the surrounding trees and started yelling at us. They were mad. And there were lots of them. And they all cared about these little guys, it wasn’t just one mama. I had no idea they were so village-ish. Eric found one in the grass and managed to carry it back to the bushes where it was more camouflaged and hopefully safer.
I’m really curious about our kiwi vine nest now. I haven’t dared the camera again, but I’ve peeked in occasionally and can usually see a beak sticking up. I wonder how many there are and how soon they’ll be ready to leave the nest. ::sniff::
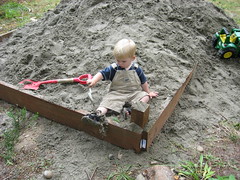
I’ve been working on creating a sandbox for the boys for the last few weeks. Digging, by hand, an 8′ x 8′ pit, one foot deep.
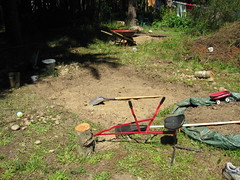
I worked on it a little bit at a time, a day here, a day there. With helpers, of course. Made a nice big hole in the ground.
Then we built a low wooden frame for it. Corner posts over which we can loop some sort of netting to prevent the cat from getting in.
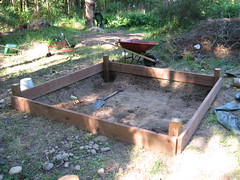
And THEN!! Finally!! Yesterday, we were ready for sand.
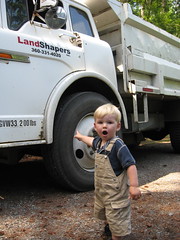
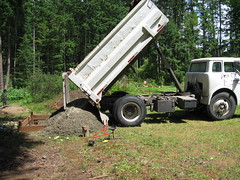
We had a dump truck! In our driveway!
TRUCK!
Spectators watch the dump truck approach the forest.
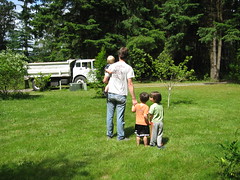
The dump truck managed to get through our half-acre woods, between garden beds and raspberries, and down the yard to where the hole was ready and waiting.
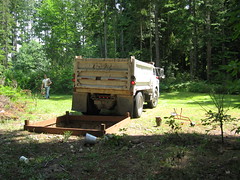
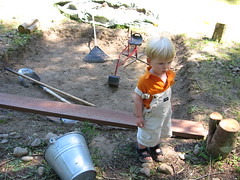
And then there was 4 cubic yards of sand. Just like that.
The truck hadn’t even turned to leave before there was a boy on top of that mountain of sand.
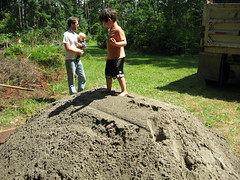
And many hours worth of fun followed.
New duvet cover, made from three old sheets found at the thrift store.
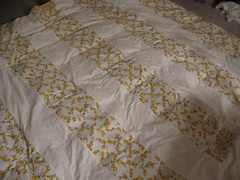
Vintage yellow roses feel so happy and summery. Even if they’re covering up a feather duvet, still in use most nights in July.
On the weekend of the solstice, we had our own sort of special celebration to mark the event.
We burned the Christmas tree.
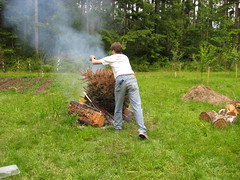
We’d been saving it in our little half-acre woods since taking it out of the house in January.
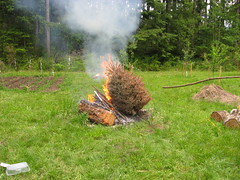
It was seriously dried up and caught fire quickly. This is just the top half, I wasn’t prepared with my camera for the first part.
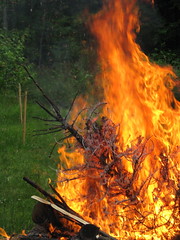
It burned really quickly and dramatically.
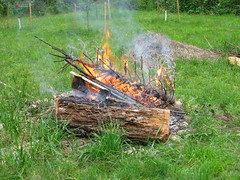
I think this may become something of a summer solstice tradition around here.
This is where we eat nearly all of our meals these days.
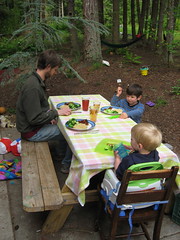
I love that the weather is finally decent enough that we can suddenly realise we haven’t used the dining room table in 2 weeks.
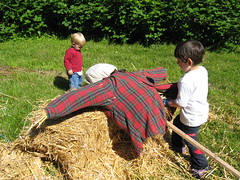
First, we made a cross with two posts. We put the shirt on the cross post first, then tied the two pieces together. (That’s Tim wearing the scarecrow’s hat, which is really actually a wicker plant pot holder thing, on the other side of the straw bale.)
We stuffed the arms with straw.

We made the head out of a pillowcase stuffed with straw and tied it around the neck. Then we stuffed the body with straw.
We added his overalls and stuffed his legs, drew his face and attached his hat.
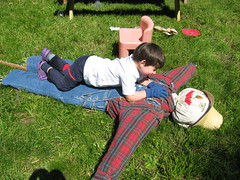
Then we lay down on top of him and gave him a good talking to about his duties. Well, one of us did.
And ta-da!! We have a scarecrow!
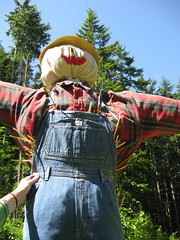
He’s been on duty for a couple of weeks now, and I think he works. He works for me, at least. Every time I catch a glimpse of him from the far end of the garden, I have to look twice because I think “Hey, who’s that in my yard?”

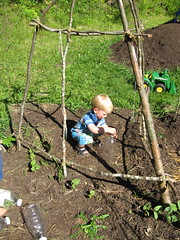
This is Timothy inside the bean teepee I constructed from branches of an alder tree we cut down. The beans are really starting to come up now, finally, after a few very hot days. In a month or two, this whole thing should be covered in growth and provide quite the kids’ hideout.
The peas are already taller than him, he looks like he’s lost in the jungle when he tries to walk between them and the pototoes.
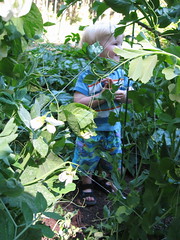
They’re just about ready to start harvesting, the snap variety at least. The shelling ones need to get a little bigger.